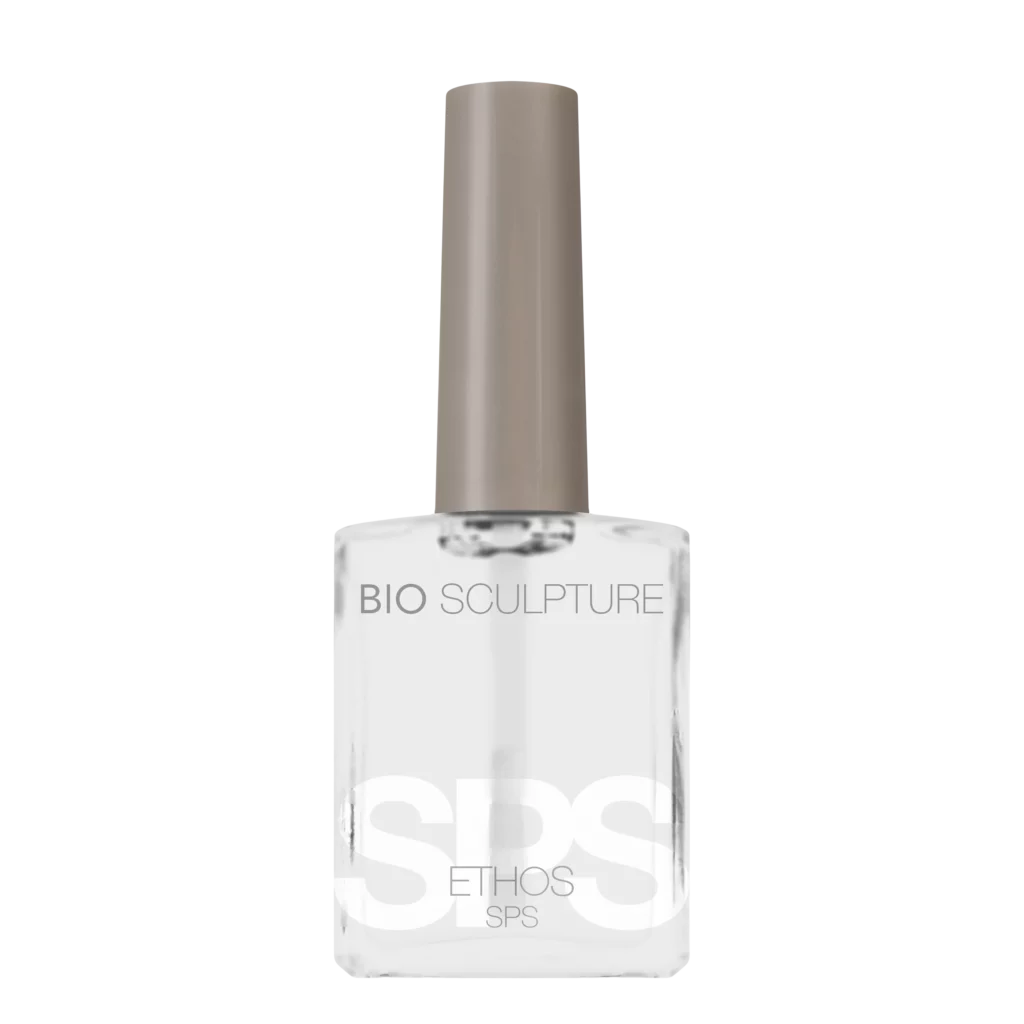
Formulated for professionals, SPS is the final step in the nail preparation routine. Offering nail cleansing that goes beyond generally accepted standards, enhancing nail preparation by breaking down residual oils and impurities.
Nail Type
All nail types
Advantages & Benefits
Minimal additional application time for effective results
Acetone and acid free
Allergy tested and Hema-free
Method of Use
As the final step of nail plate preparation, apply a thin, even layer to the entire nail, ensuring complete coverage around the cuticle line and sidewalls. Allow to dry
Avoid flooding the skin with excess product
Effective for 30 minutes after application
For professional use only
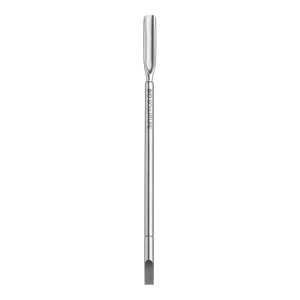
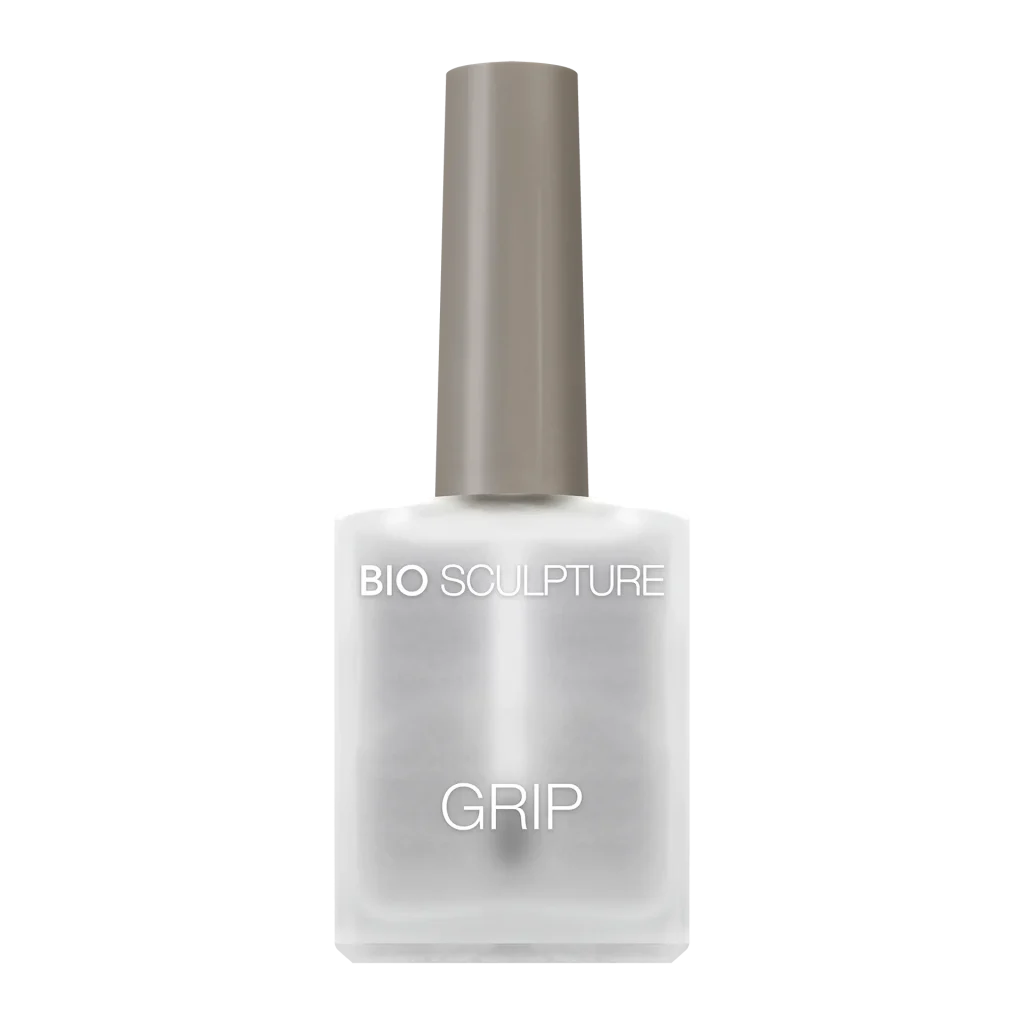
Grip
Formulated to deliver an unparalleled hold, this adhesion enhancer is your ultimate defense against lifting for longer lasting results. It enhances the gel’s grip and supports superior durability and retention with every application.
Nail Type
All nail types
Advantages & Benefits
An adhesion enhancer formulated to deliver an unparalleled hold
Enhancing the gel’s grip on the natural nail, supporting superior durability and retention with every application
Minimal additional application time for efficient results
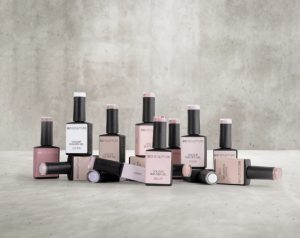
Seamlessly integrates with all Bio Sculpture Gels, ensuring versatility and consistency
Hema and acid-free formulation
Allergy tested
Method of Use
A sticky, adhesion enhancer applied to prepared nails before gel
Apply a thin layer to cover the entire nail surface without touching the cuticles, ideally after the application of SPS
Do not wipe or cure and proceed with your gel overlay
For professional use only
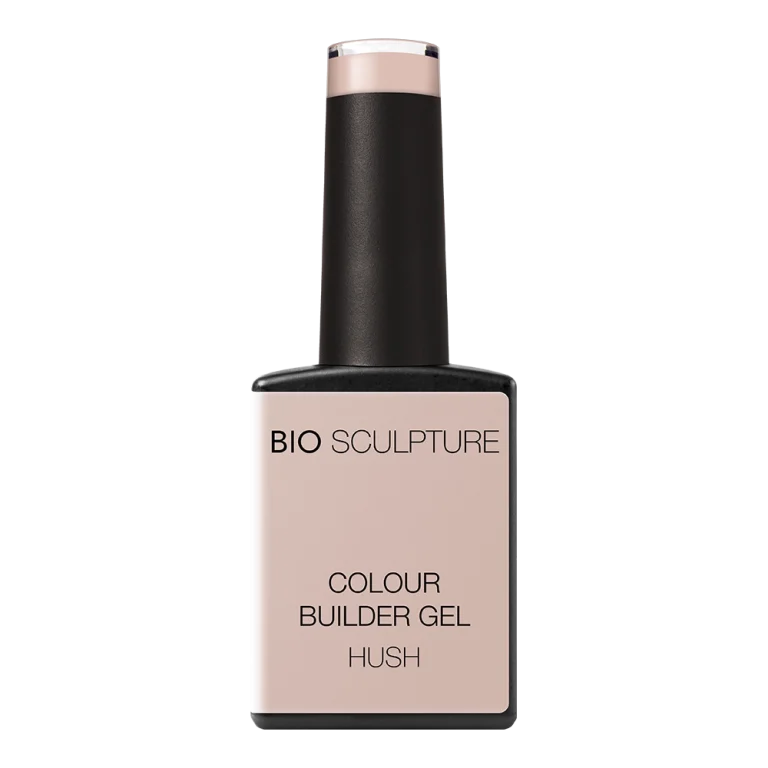
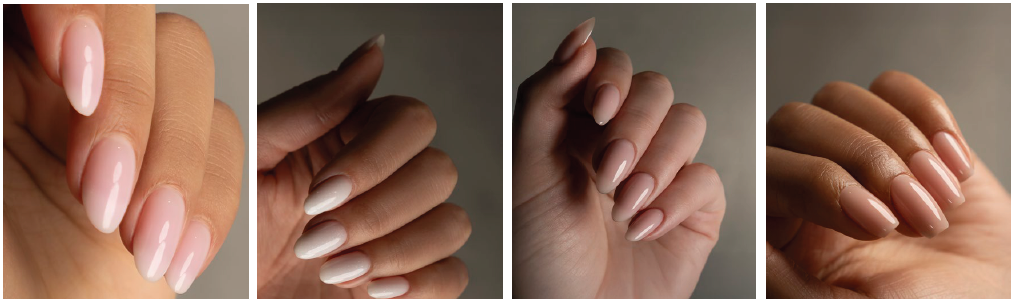
Colour Builder Gel Overlay Application Step By Step
Nail Plate Preparation
Prepare the nail according to nail plate analysis
SPS – As the final step of preparation to effectively cleanse, apply SPS over the entire nail plate and allow to dry
Grip – To aid product adhesion and longevity, apply a thin layer to cover the entire nail surface without touching the cuticles
Base Layer Application
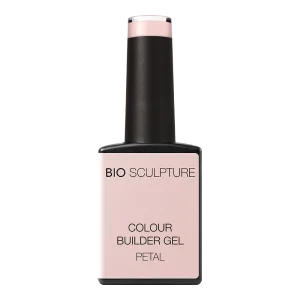
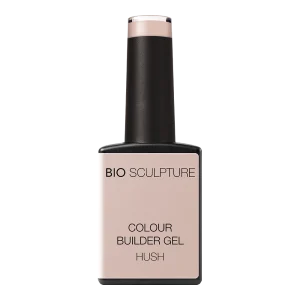
Apply a flat base layer using your selected base gel. When applying a Colour Builder Gel it is recommended that it be paired with a flexible base layer. For example: Soft Gel/Base Gel/Flex Base
Cure for the required time
Colour Builder Gel – Upper Arch Strengthening Layer
*Apply gel to one nail at a time and cure after each application
Apply a smooth layer of a selected Colour Builder Gel over the nail. This layer of uncured gel will allow the upper arch to self-level
Offload the remaining product from the brush onto the free edge / pick up a droplet of gel to the tip of an Upper Arch Brush and place the droplet onto the centre of the free edge. The amount of product will be determined by how much shape correction and strength is needed
Use the Upper Arch Brush to pull the gel upwards towards the centre of the nail, using soft pressure, repeating on the left and the right side of the nail to form the arch and apex. Ensure perfect detail to the cuticle line, sidewalls and lower curves
Allow to self-level or turn the finger upside down to form a natural arch
Cure for 30 seconds
Top Coat Application
Apply your choice of top coat thinly and evenly
Cure for 30 seconds and rest for 30 seconds before cleansing, for optimal shine
Colour Builder Gel Application Training Video
Watch the Bio Sculpture Colour Builder Gel training video here: